Hands-on: Widgetsmith for iOS 14 home screen widgets

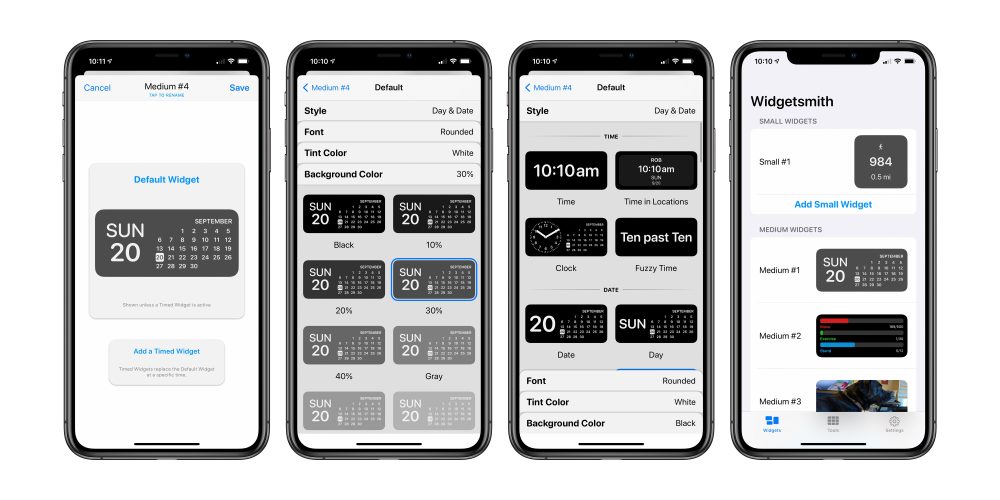
In the Widgetsmith app on your iPhone, there are three different widget sizes to choose from: small, medium, and large. Each widget can display a variety of information and be customized with different font styles and colors, tint colors, and background colors.

The process is incredibly straightforward. You simply click the “Add” button for the size of widget you want to create, then tap on the widget to customize it.

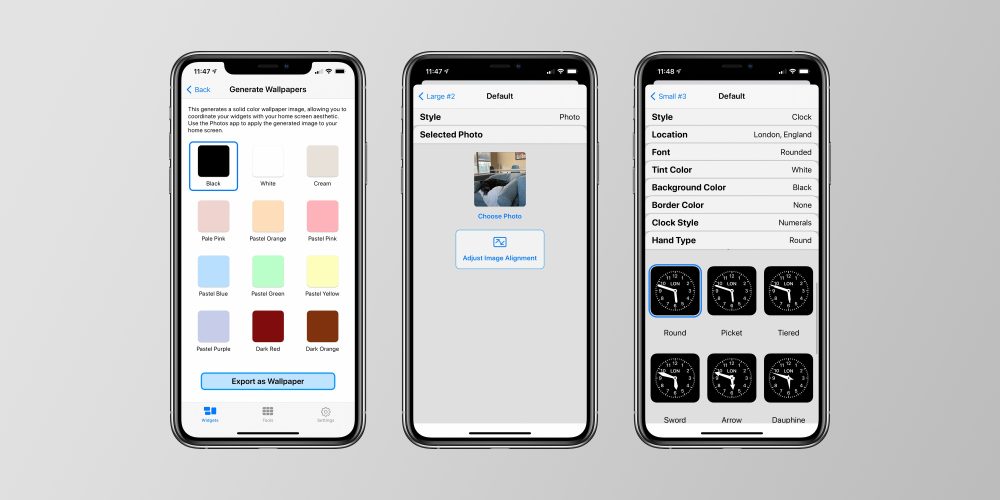
The first decision you have to make is what sort of information you want the widget to display on your home screen. Here are the data sources available in Widgetsmith:
  • Time
  • Date
  • Custom: Photo, Photos in Album, Custom Text, Blank
  • Calendar
  • Reminders
  • Weather
  • Health & Activity
  • Tides
  • Astronomy

Within each data type, there are a variety of different options for displaying whatever data type you’ve picked. From there, you have additional customization options including the font style, tint color, and background color. The result can be as colorful and aesthetically pleasing or as information-dense as you so desire.

Once you’ve designed the iOS 14 home screen widget in the Widgetsmith app, you can head back to your home screen, long-press to entire jiggle mode, then tap the “+” icon in the upper-left corner. Look for Widgetsmith in the list of apps, then choose the size of the widget you created.
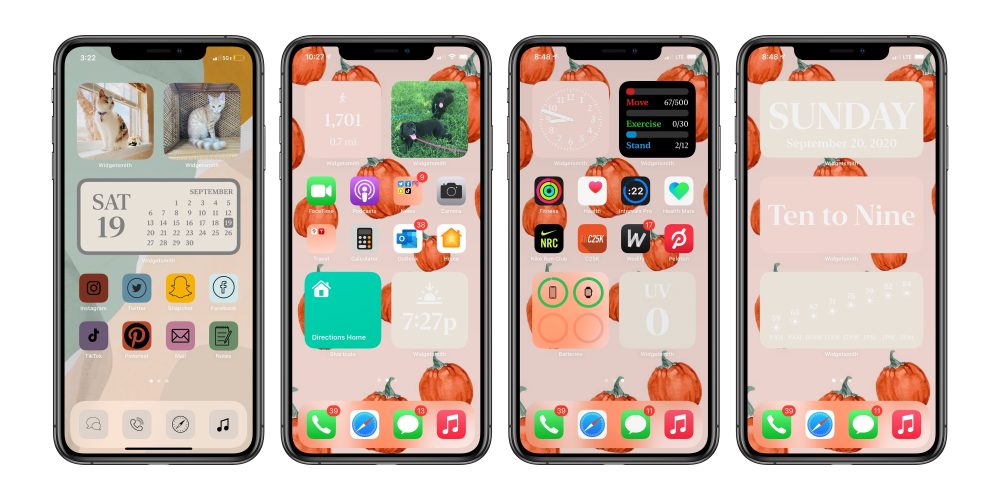
A handful of iOS 14 home screen screenshots I’ve been sent by friends and family since iOS 14 was released:

On your iOS 14 home screen, you can use as many widgets from Widgetsmith as you’d like. Once you add the Widgetsmith size to your home screen, long-press, choose “Edit Widget” and choose the “Widget” option to pick from the multiple designs you created in the Widgetsmith app. In fact, every widget on your iOS 14 home screen could come from Widgetsmith if you wanted.

Widgetsmith also supports timed widgets, which allow you to replace the widget on your home screen at a specific time of day. For example, you can display the current date until after the workday is over, then have Widgetsmith automatically change widgets to show you what’s on your calendar for the next day.


More Ideas

The wide range of options in Widgetsmith affords you the flexibility to make home screens as you see fit. Below are some ideas for widget combinations for different themes in Widgetsmith, but the choice is yours.

  • Sports: Activity Bar, Step Count, and Precipitation %.
  • Productivity: Upcoming Calendar Events, Calendar Month, Outlook, and Reminders.
  • Photography: Weather Conditions, Sunrise and Sunset, and Photos in Album.
  • Sailing: Tide Graph, Tide Clock, and Sunrise and Sunset.
  • Astronomy: Moon Phase, Starfield, Sunrise and Sunset, and Wealther Conditions.

The app comes with three calendar widgets pre-set, and you should add one of the three sizes to your home screen. It does not matter whether you do this before or after customizing your widgets in the app. To learn how you can add a widget to your home screen, see our in-depth guide.


How to Set up a Basic Widgetsmith Widget

The following steps outline how to create widgets with Widgetsmith. Although you may wish to create a different widget, the process is largely the same, with slightly different visual options offered at each stage of the process.

Before following these steps, download the Widgetsmith from the App Store.

  1. Open the Widgetsmith app.
  2. Choose whether you want to make a Small WidgetMedium Widget, or Large Widget. To make a brand new widget in addition to the preset calendar widget, select Add... Widget for your chosen size. In this case, we are editing the preset calendar widget. To change the preset calendar widget of your chosen size, select it.
  3. Select Default Widget. To make the widget appear at a scheduled time, simply tap Timed Widget instead of Default Widget.

widgetsmith 1


How to Customize Widget Font and Colors

  1. Under Style, scroll through the list and select the widget of your choice.
  2. Select the Font bar toward the bottom of the screen. Note that depending on the widget you chose, the option bars may be different.
  3. Under Font, scroll through the list and select a font.
  4. Select the Tint Color bar toward the bottom of the screen. Again, your option bars may be slightly different.
  5. Under Tint Color, scroll through the list and select a tint.
  6. Select the Background Color bar toward the bottom of the screen.
  7. Under Background Color, scroll through the list and select a background color.
  8. widgetsmith 2

  9. Tap the back arrow in the top left corner.
  10. Tap Save.
  11. Return to the home screen.
  12. widgetsmith 3